Introduction
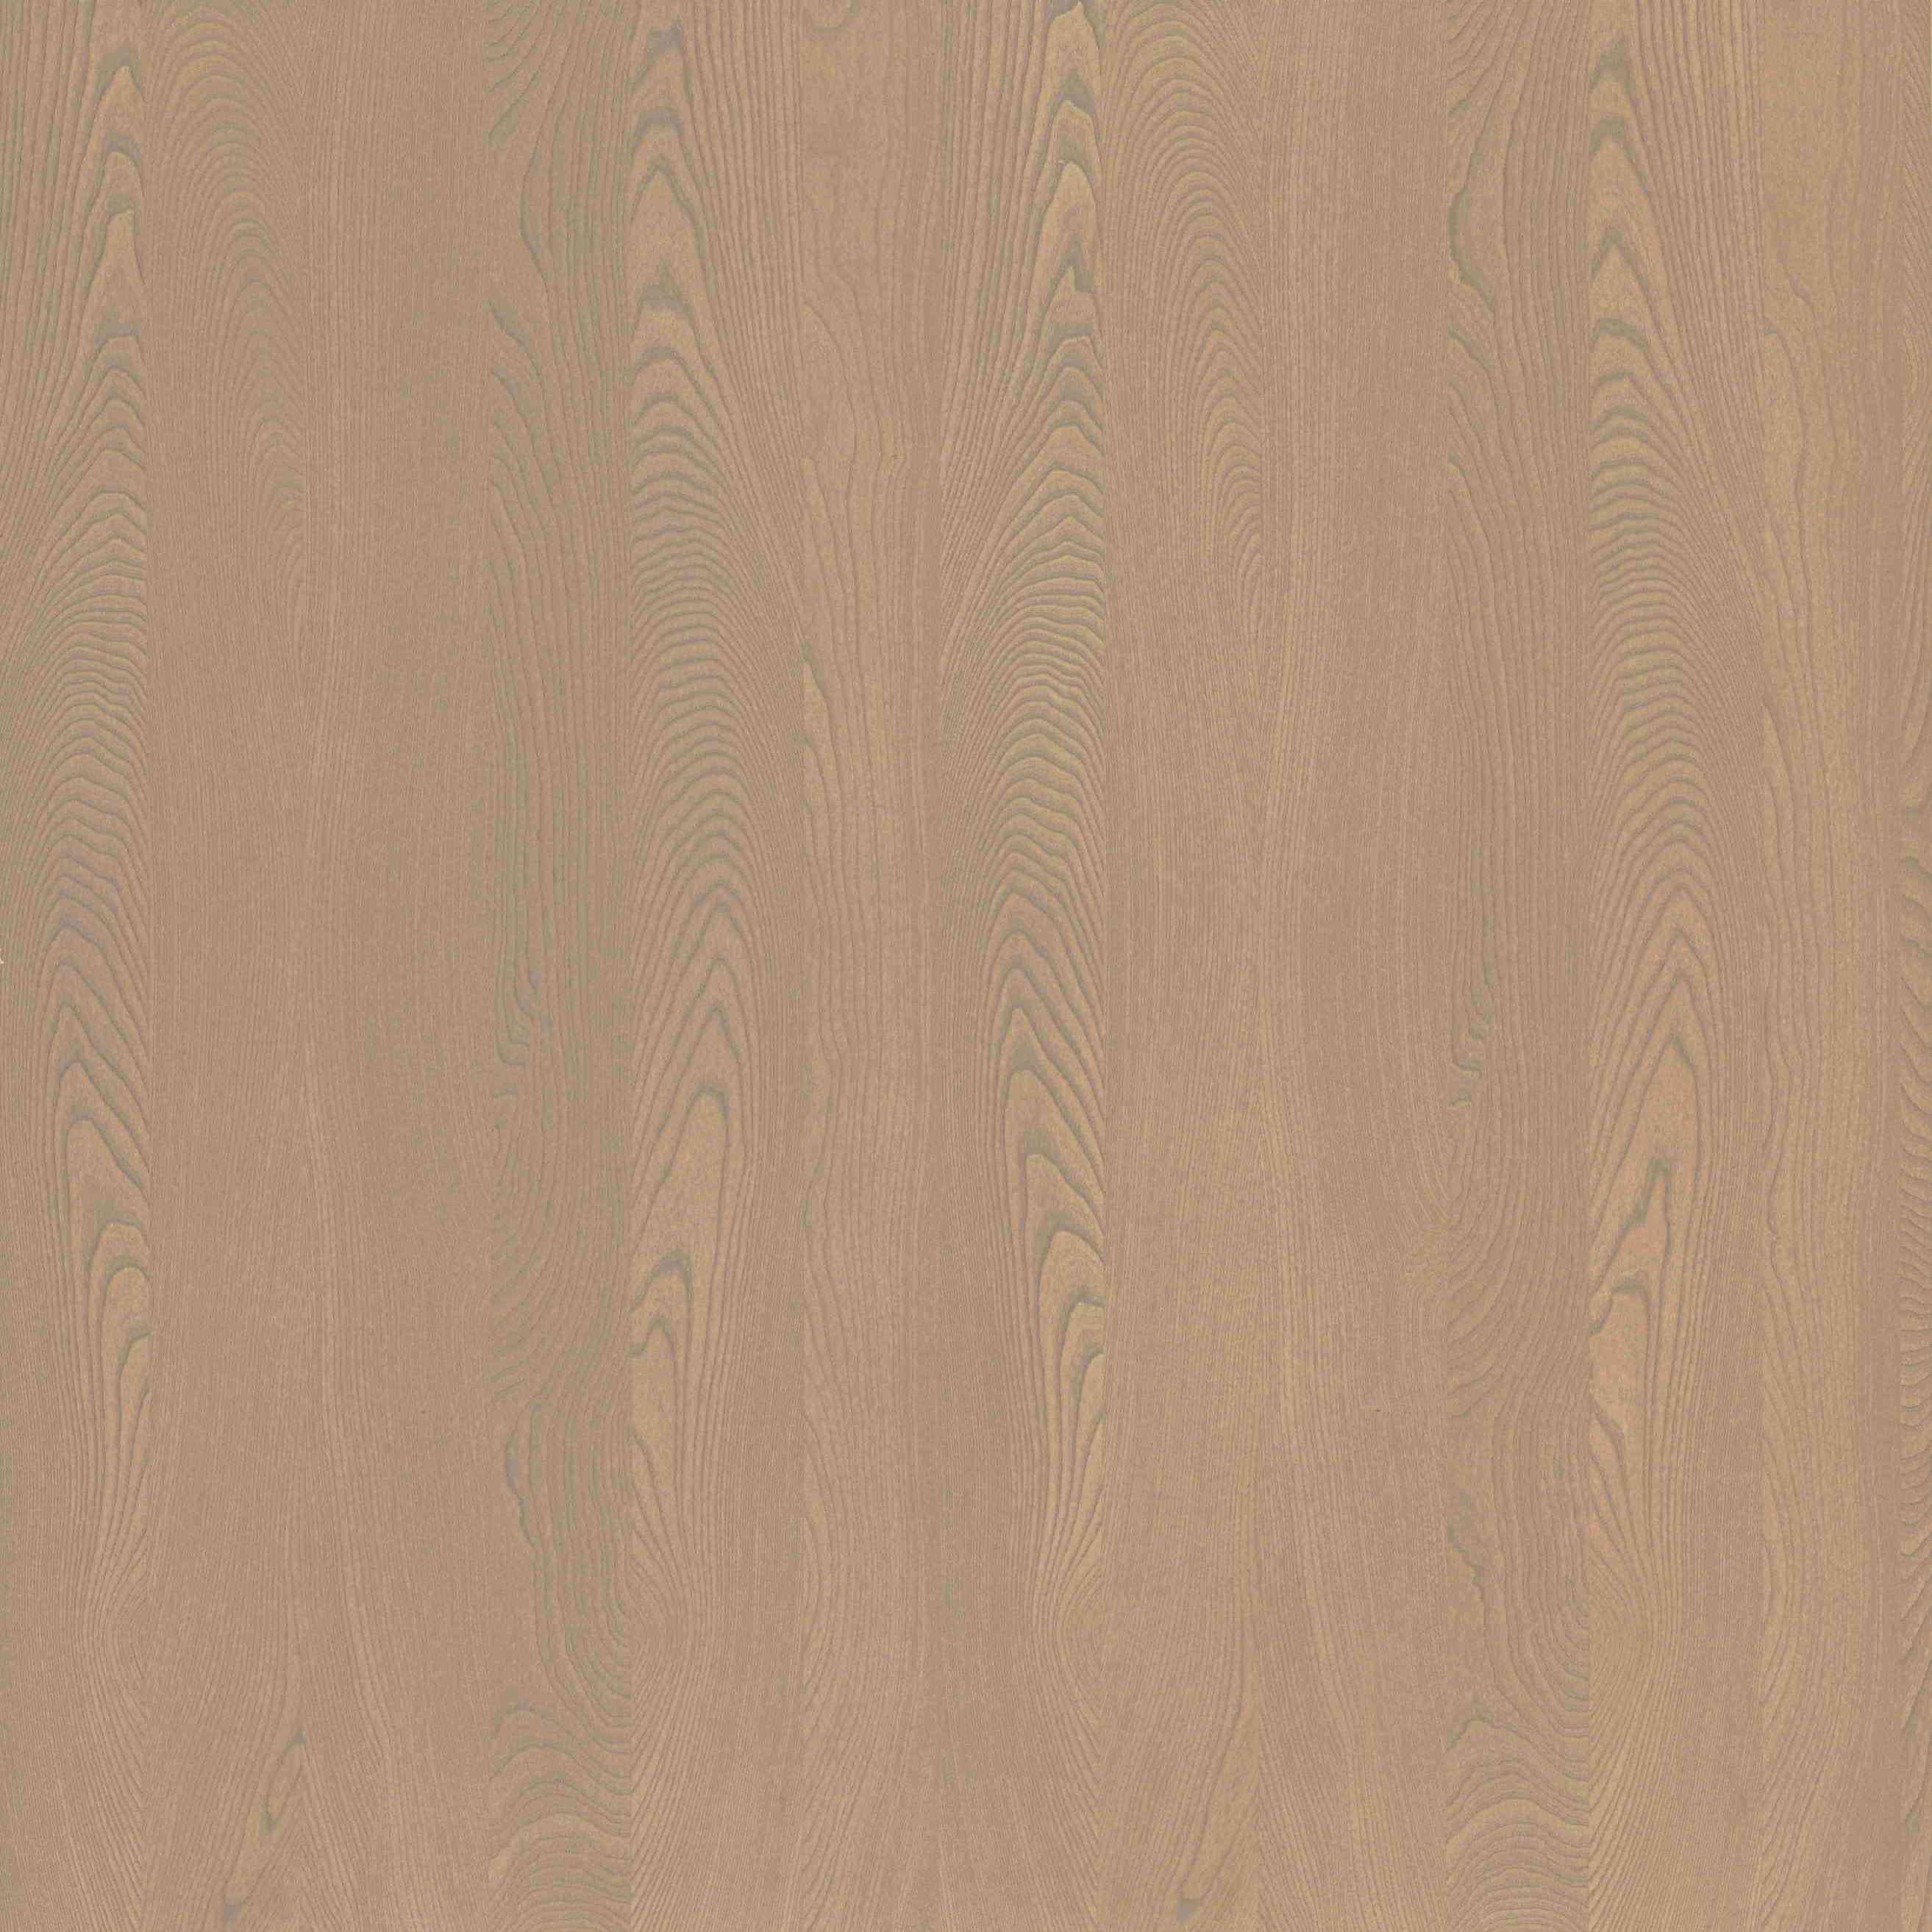
When engineering high-quality custom furniture or architectural cabinetry, a premium Veneer Panel delivers the stunning visual appeal of hardwood without the exorbitant cost or structural weight of solid lumber. However, the true mark of professional craftsmanship lies entirely in the perimeter details. Leaving these vulnerable sides bare instantly shatters the illusion of solid wood, exposing alternating plywood layers or the granular texture of a composite core.
Simply applying a generic edge tape falls short of premium manufacturing standards. Understanding exactly how the edge treatment integrates with the main board is the fundamental secret to achieving a flawless, architectural-grade result. Does your final assembly look like a cohesive block of timber? Whether you operate a high-volume commercial fabrication facility or focus on bespoke millwork, mastering this integration is non-negotiable. This technical guide explores empirical methods for specifying materials, aligning natural wood grains, executing precise thermal applications, and utilizing industrial-grade tooling to engineer an invisible seam.
Key Takeaways
Material Synergy: Authentic visual and tactile results require pairing a real wood veneer face with an edge strip of the exact same botanical species.
Directional Harmony: Continuous visual flow demands meticulous alignment of the linear grain direction on the edge with the face grain of the board.
Application Integrity: Utilizing moisture-curing adhesives, precise thermal calibration, and consistent mechanical pressure prevents long-term delamination.
Unified Finishing: The perimeter and the primary face must undergo sanding, staining, and sealing processes simultaneously to guarantee uniform surface tone.
Precision Machining: Invisible seams rely on accurate flush-trimming and routing using specialized bearing bits and razor-sharp cutting edges.
Why an Edge Band is Essential for Veneer Panels
Imagine running your hand along the edge of a custom-built walnut executive desk. The tactile experience is immediately compromised if your fingers graze a rough, exposed composite core. The primary aesthetic function of perimeter banding is absolute visual concealment. While the face of a veneered board exhibits beautiful natural grain, the cross-section reveals its structural composite layers. By applying a meticulously specified edge strip, fabricators successfully mask this core, tricking the human eye into perceiving a solid piece of lumber.
Beyond aesthetics, exposed edges represent a critical structural vulnerability. The porous nature of medium-density fiberboard and plywood cores allows for rapid moisture absorption. This moisture ingress ultimately leads to localized swelling, warping, and irreversible structural degradation. An applied edge acts as a formidable physical barrier. It hermetically seals the vulnerable perimeter against ambient room humidity, accidental liquid spills, and the mechanical impacts inevitably encountered during daily commercial use.
Consequently, high-end cabinetry standards dictate flawless edge treatments. A poorly applied or mismatched perimeter immediately destroys the perceived commercial value of the casework. Conversely, a seamless transition elevates standard composite boards into refined masterpieces capable of meeting the stringent demands of modern interior architecture.
Material Selection: Engineering the Perfect Match
Specifying the correct material is the foundational step in casework fabrication. The market offers several distinct variations, each engineered for specific environmental conditions and aesthetic requirements. Relying on generic options often leads to finishing failures.
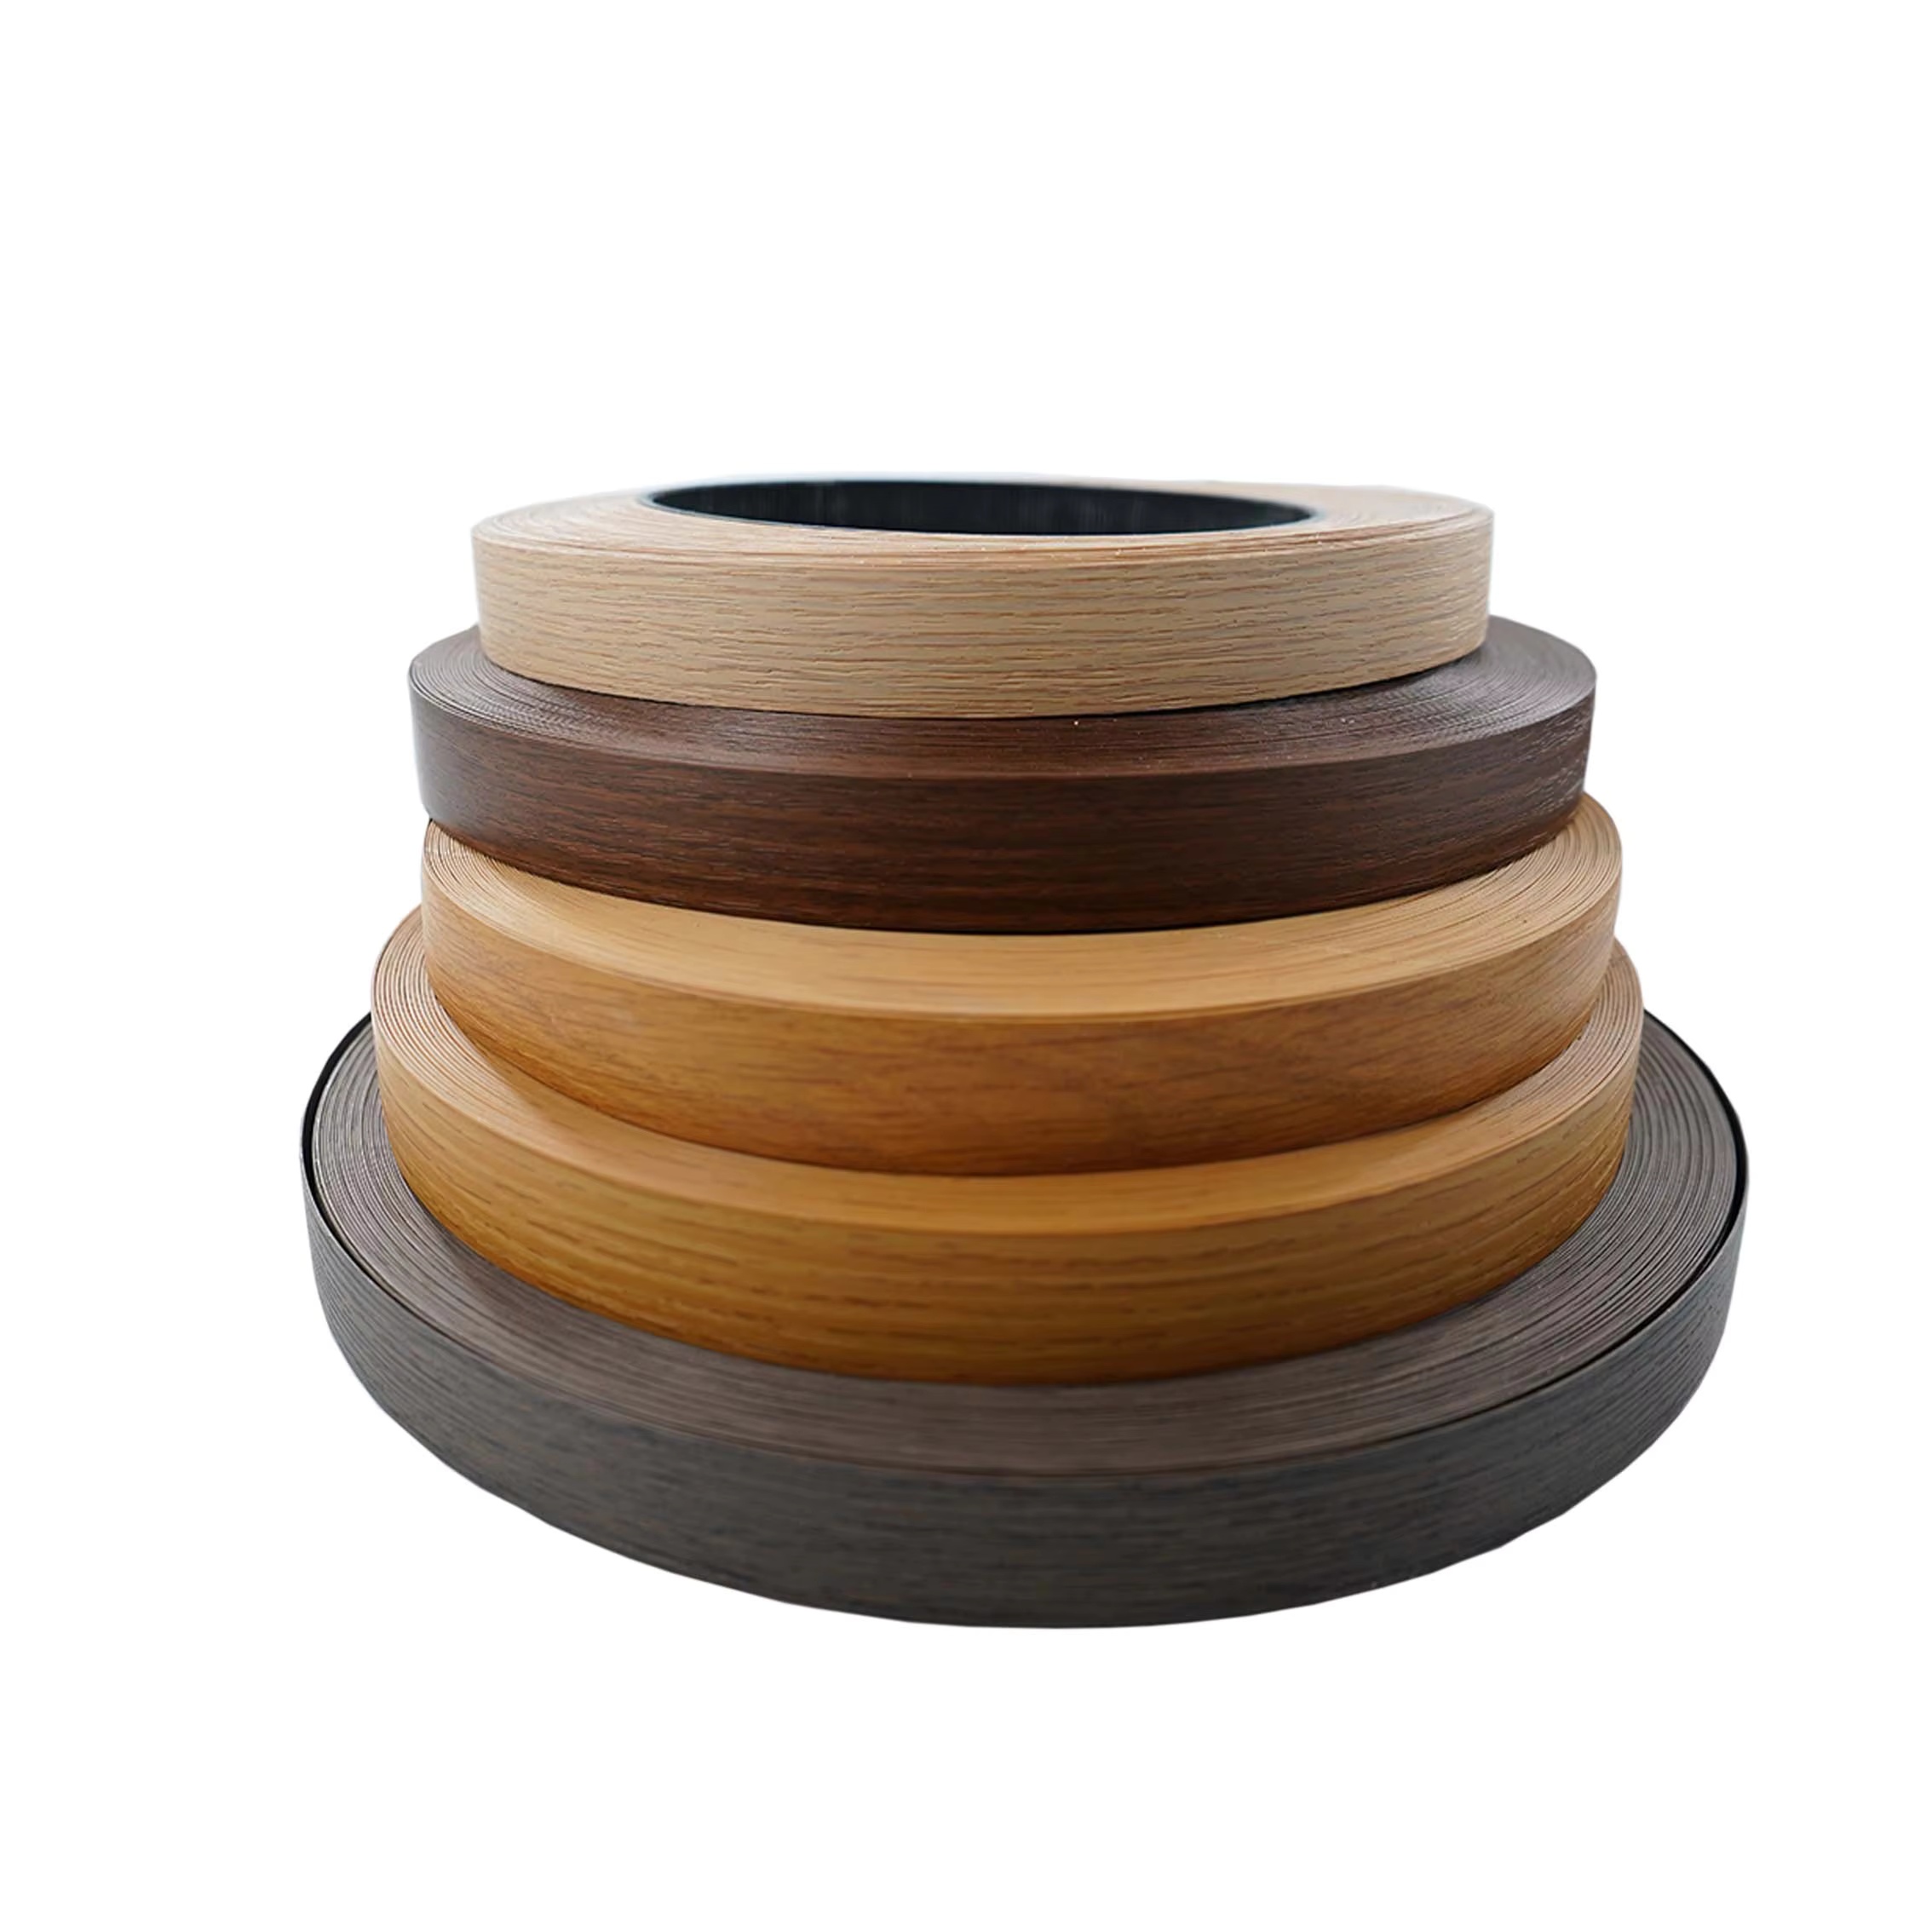
For authentic woodworking projects, utilizing a durable Edge Band sliced from actual logs is universally considered the optimal technical solution. Because it shares the identical cellular structure as your panel, it absorbs stains and protective finishes at the exact same rate. High-quality suppliers offer these in specific thicknesses ranging from an ultra-thin 0.5mm for standard cabinetry up to a robust 3mm for high-impact commercial furniture. They are available in pre-glued formats activated by thermal energy or unglued master rolls designed for automated edgebander machines.
In contrast, synthetic options like Polyvinyl Chloride or Acrylonitrile Butadiene Styrene provide extreme resistance to impact and moisture. While they remain the standard in high-traffic commercial casework or damp environments like commercial washrooms, achieving a perfect match with natural wood veneer is notoriously difficult. Synthetic materials feature printed grain patterns and possess zero porosity, making them incapable of absorbing liquid wood stains.
To simplify the specification process, refer to this core technical comparison:
Technical Parameter | Real Wood Veneer Banding | Synthetic Polyvinyl Chloride |
|---|---|---|
Aesthetic Integration | Flawless; identical cellular structure | Noticeable transition; printed pattern |
Stainability | High; absorbs liquids naturally | Zero; requires pre-colored matching |
Impact Resistance | Moderate to High based on thickness | Extreme; ideal for heavy commercial use |
Adhesive Compatibility | Hot-melt, Polyurethane, Contact Cement | Hot-melt, specialized solvent glues |
Furthermore, examining current industry shifts in architectural millwork reveals a distinct evolution toward zero-joint technologies. Driven by a consumer desire for ultra-minimalist, monolithic designs, modern fabrication facilities are rapidly abandoning traditional Ethylene Vinyl Acetate glues that leave visible dark glue lines. Instead, the industry standard is shifting toward moisture-curing Polyurethane adhesives. These advanced adhesives create a microscopic, highly water-resistant bond line. Additionally, as sustainable building practices become mandatory in commercial codes, there is a surging demand for certified sustainable real wood edge banding, ensuring entire panel assemblies meet strict environmental compliance without sacrificing the high-end aesthetic.
The Art of Edge Matching: Color, Grain, and Texture
True craftsmanship becomes evident when the perimeter is virtually indistinguishable from the main board. Achieving this level of seamless Edge Matching requires a deep, practical understanding of timber anatomy.
The most critical engineering rule is species consistency. Substituting a cheaper wood with a similar raw color, such as utilizing birch to mimic hard maple, will inevitably fail during the finishing stage. Different botanical species feature unique pore structures and tannin levels, causing them to react to chemical stains at vastly different rates. Whenever possible, source your banding rolls and your veneered boards from the exact same timber batch.
Specifically, wood grain is highly directional. When applying your edge, the linear grain of the banding material must run strictly parallel to the primary grain of the panel face. Applying a strip with a perpendicular grain orientation creates a visually jarring intersection that immediately highlights the composite nature of the board. Advanced fabricators take this a step further by analyzing the light-reflecting properties of the grain, occasionally utilizing slip-matching techniques to guarantee identical grain spacing across the joint.
Because timber is a natural organic material, raw color variations are inevitable. Heartwood is typically darker and denser, while sapwood is lighter and softer. Before applying any thermal adhesive, unroll a section of your banding and visually compare it to your specific board under 5000K natural daylight lighting. If your board features darker heartwood, ensure your edge strip is not predominantly pale sapwood.
Step-by-Step: Executing the Application Process
The structural longevity of your casework relies entirely on the integrity of the application process. A poorly bonded strip will eventually delaminate, snag on clothing, and compromise the entire unit.
Surface preparation is paramount. Advanced adhesives require a pristine, dust-free surface to form a permanent cross-linked bond. The edge of the composite board must be machined perfectly square, exactly 90 degrees to the face, utilizing a sharp, high-tooth-count saw blade to prevent blade deflection. Subsequently, lightly sand the edge with a rigid block to ensure absolute flatness, and use compressed air to evacuate any lingering microscopic sawdust.
For bespoke shops utilizing manual thermal application, precise temperature control is critical. Set the thermal tool to a medium-high setting. Slowly advance the heat source over the wood, allowing the thermal energy to deeply penetrate the veneer and liquefy the hot-melt adhesive. Your feed rate must be slow enough to achieve full adhesive melt flow, yet fast enough to avoid scorching the delicate surface wood fibers.
Heat alone merely activates the adhesive. Mechanical pressure is what truly forces the liquefied polymer into the porous core of the board. Immediately after removing the heat source, utilize a solid J-roller to press firmly downward. Roll back and forth vigorously while the glue cools and cross-links, expelling trapped air bubbles and sealing the perimeter tightly.
Trimming and Routing: Achieving a Seamless Profile
Once the adhesive has fully cured to room temperature, the banding will inevitably be wider than the panel thickness. This leaves a slight, fragile overhang on both sides. Removing this excess material without damaging the ultra-thin face veneer requires strict precision and the correct tooling.
Attempting to shear wood banding with a standard utility knife almost always leads to jagged cuts and catastrophic tear-out, where the blade catches the grain and rips chunks out of the wood. To achieve a factory-grade result, utilizing the proper Panel Accessories is absolutely critical. A double-edge manual trimmer is highly effective for standard 0.5mm thicknesses, as it references flat against the panel face and shears both sides of the overhang simultaneously without gouging the delicate surface.
For the cleanest and most consistent profile on thicker 1mm to 3mm bands, professional fabricators rely on compact trim routers. Equipping a high-speed router with a flush-trim bit featuring a non-marring bottom bearing allows the tool to glide smoothly along the panel face. Taking light, controlled passes and moving the router steadily prevents friction burns on the timber and yields a machined surface that requires minimal final sanding.
Achieving the Perfect Cabinet Finish: Staining and Sealing
The final visual integration of the edge and the panel occurs strictly during the finishing phase. This is the critical moment where separate physical components are visually unified into a single, cohesive architectural element.
Before applying any chemical liquids, the microscopic transition line where the two surfaces intersect must be sanded perfectly flush. Using a hard sanding block with 150-grit aluminum oxide paper, followed by 180-grit, sand the sharp corner at a slight 45-degree angle to engineer a micro-bevel. This softens the sharp 90-degree corner, making it highly tactile and preventing liquid finish from pooling on the edge. Exercise extreme caution during this step, as aggressive sanding will quickly burn through the 0.6mm face veneer.
To guarantee a uniform Cabinet Finish, you must apply stains to the edge and the panel simultaneously. Because these components may have been sliced using different milling methods, their cellular porosity varies. Applying a pre-stain wood conditioner evens out the absorption rate of the wood fibers, ensuring that when the pigment is wiped on, the color develops evenly across the entire assembly.
Finally, encapsulate the project with a high-performance protective topcoat, such as a catalyzed water-based polyurethane or a penetrating hard wax oil. Applying the topcoat in continuous, overlapping strokes over both the face and the edge locks in the meticulous color match and provides the ultimate chemical resistance against daily wear.
Common Mistakes to Avoid in Edge Engineering
Even veteran casework engineers can encounter frustrating failures when processing panel edges. Recognizing standard failure points saves significant labor time and prevents costly material waste.
A frequent catastrophic mistake is attempting to bond unglued wood tape using standard Polyvinyl Acetate wood glue without industrial clamping mechanisms. Standard aliphatic resin requires continuous, high-pressure clamping for a minimum of 30 minutes to cure properly. This is a mechanical feat nearly impossible to achieve on a narrow edge without specialized edge-clamping jigs. Always specify hot-melt adhesives, Polyurethane adhesives, or industrial contact cement for clamp-free manual applications.
Tear-out during the routing phase represents another critical failure point, particularly with open-grain species like white oak. To prevent this blowout, verify your router bits are razor-sharp and free of pitch buildup. Pay strict attention to the grain direction. Always route downhill with the grain rather than forcing the cutter against it.
Conclusion
Mastering the technical integration of edge bands and veneer panels is the defining engineering skill that separates amateur DIY projects from high-end architectural cabinetry. By strictly specifying real wood materials of the exact same botanical species, meticulously aligning grain orientations, and executing a flawless thermal and machining process, you transform a standard sheet of composite core into a monolithic masterpiece. Remember that the ultimate illusion is finalized in the finishing room. Always sand, stain, and seal your perimeters and faces simultaneously as one unified surface. Invest in precision tooling and adhere to strict application parameters. For your next premium casework project, ensure you source the highest quality matching materials and accessories directly from trusted industry leaders like GC Panels to guarantee a durable, seamless appearance that withstands the test of time.
Frequently Asked Questions
Can I use a PVC edge band on a real wood veneer panel?
While it is mechanically possible to bond the materials, it is highly discouraged for custom furniture. Synthetic plastics lack the natural cellular texture and liquid absorption properties of real timber. For the most authentic visual integration, engineering standards dictate pairing a real wood panel with a natural wood edge strip.
How do I hide the dark glue line between the edge band and the veneer panel?
A visible dark glue line typically results from specifying an incorrect adhesive color or failing to apply sufficient mechanical pressure during the thermal cooling phase. To engineer an invisible seam, utilize a clear or color-matched hot-melt adhesive, apply rigorous pressure with a solid J-roller immediately after heating, and sand the joined edge at a slight micro-bevel to visually blend the transition.
Should I apply the edge band before or after applying a cabinet finish?
You must strictly apply the edge banding before applying any liquid finish. This manufacturing sequence allows you to safely machine the band perfectly flush with the panel face. It also ensures you apply your stains and protective clear coats to both surfaces simultaneously, guaranteeing an identical color match and uniform light reflection.
What thickness of edge banding is best for veneer panels?
The optimal thickness depends entirely on the application environment. For standard residential cabinetry faces and interior shelving, a 0.5mm or 0.6mm thickness is standard and seamlessly matches the face veneer. However, for high-traffic commercial furniture, desks, or cabinet doors susceptible to impact, engineering a thicker 1mm to 3mm wood band provides vastly superior impact resistance while maintaining the solid-wood illusion.
What is the best tool for trimming wood veneer edge banding?
For standard 0.5mm tapes, a double-edge manual trimmer is highly efficient and safe. Conversely, for professional fabrication facilities or when processing thicker 1mm to 3mm wood bands, a compact high-speed trim router equipped with a flush-trim bearing bit yields the cleanest, most reliable machined edge without the risk of catastrophic grain tear-out.
How do you fix edge banding that is peeling at the corners?
Peeling at the extremities indicates an adhesive failure, usually caused by insufficient thermal penetration, lack of downward mechanical pressure during cooling, or bonding to a dusty core. To repair this, use a heat gun or iron to reactivate the hot-melt adhesive, immediately press the band down firmly with a solid wooden block until cool, and ensure the surrounding area is free of debris.
Why does my wood edge band look lighter than the panel after staining?
This color discrepancy occurs when the edge band and the panel possess different cellular porosities, often because they were milled from different logs or the edge was sanded to a higher grit, closing the wood pores. To fix this, always sand both surfaces to the exact same final grit (usually 180-grit) and apply a pre-stain wood conditioner to equalize absorption rates before applying pigment.